Recording Vocals First Steps - Starting With A Great Source
Throughout my career as a musician and studio engineer, I consistently hear the same questions over

The typical noob vocal inquiry might read something like this.
"How do I make my vocal sound professional like I hear on the radio".
Or
"What plugin do I use to get pro sounding vocals".
Before I proceed, I would like to get something straight. There is no magic plugin that will turn you from Alfalfa into Geoff Tate. Even the overly depended upon pitch correction tools such as Autotune or Melodyne (Which happens to ship with Mixcraft Pro Studio) cannot turn doggy doo into caviar.
This is where my soon to be famous phrase "If you expect professional results, you have to start with a great source" comes in.

About now I am assuming I've crushed you into believing that your mediocre singing ability isn't going to cut it. Ok, sorry about that, but the truth is that I suck too but still have commercial cd's out and even in physical stores. So you can do it, I have confidence in you :-)
Let's run down a quick list of points
- Be able to sing, hold a note, recognize when you are off and re-record it.
- Record in an isolated room, free from screaming children, barking dogs, nagging wives (oh damn, I hope my wife doesn't read this).
- Use a high quality microphone, do NOT under any circumstances expect to yell into a laptop or smart-phone and create the worlds next #1 hit. I like the AKG C214 for a middle of the road vocal mic. You can even use the old standard Shure SM58 if you are on a tighter budget.
- Use a decent mixer connected to an audio interface which has a good asio driver. IE: Don't cobble together adapters to connect your XLR microphone directly to the "mic" input on your cheap sound card that's integrated into your family room gateway pc.
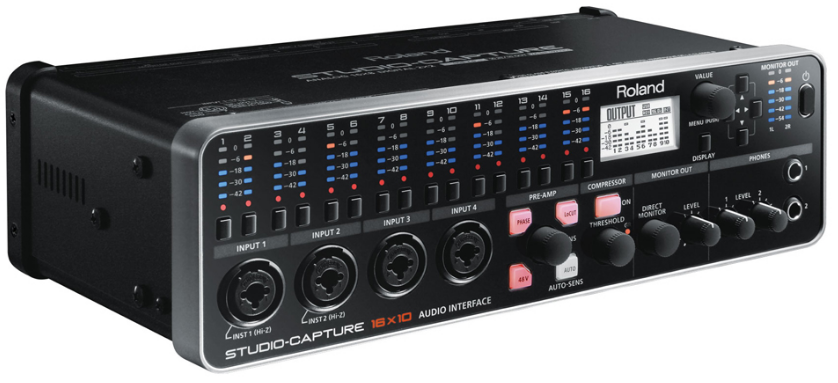
- Use a hardware compressor in line with the microphone and compress before the signal reaches the computer. Many interfaces have compression built in for just this purpose. Two interfaces that I know of which have excellent onboard compression are the Presonus StudioLive 16.0.2 and the Roland Studio Capture.
- Check your incoming signal by singing the loudest parts of the vocal you are about to record. Make sure you are not clipping the gain.
- Use a pop filter and sing past the mic rather than directly at it. I've found that 99% of the issues people have with the thump sound from "P" and "T" and the overly high-endy "SSSSS" from words like saplesippysumpin, shmoopy, simmerbangin, etc. can be cured by aiming your face to one side of the mic so it gets the sound and not the air.
- Once you have recorded the part, go check it out and if you find mistakes, redo it. If you find you've clipped the gain at some point, redo it. If your compression settings are causing a distorted sound, adjust the compression and redo it. The theme here is don't expect some magic plugin to fix your screw ups, just re-record it.
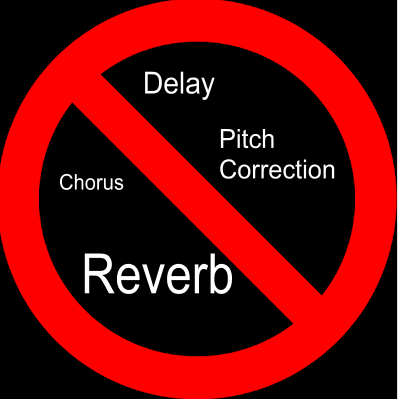
- DO NOT use effects while recording, you want to record 100% dry, the effects come later in the mixing process.
- Use high quality studio headphones so that 0% of the sound from headphones bleeds into the microphone while you record.
Now that you have recorded a great source, you can expect a much easier mixing session. You should easily be able to get the vocal to sit down in the mix while also remaining out front as a vocal should be. You won't have noise artifacts to deal with, there won't be leveling issues between sections and you won't need to search around for de-esser plugins, or high pass filters to get rid of thumps.
Check out the video below. It's a section from my 2013 "Mixcraft Master Class - Rock & Metal - Starting With A Great Source - Vocals" segment. The full Master Class DVD can be obtained here
No comments:
Post a Comment